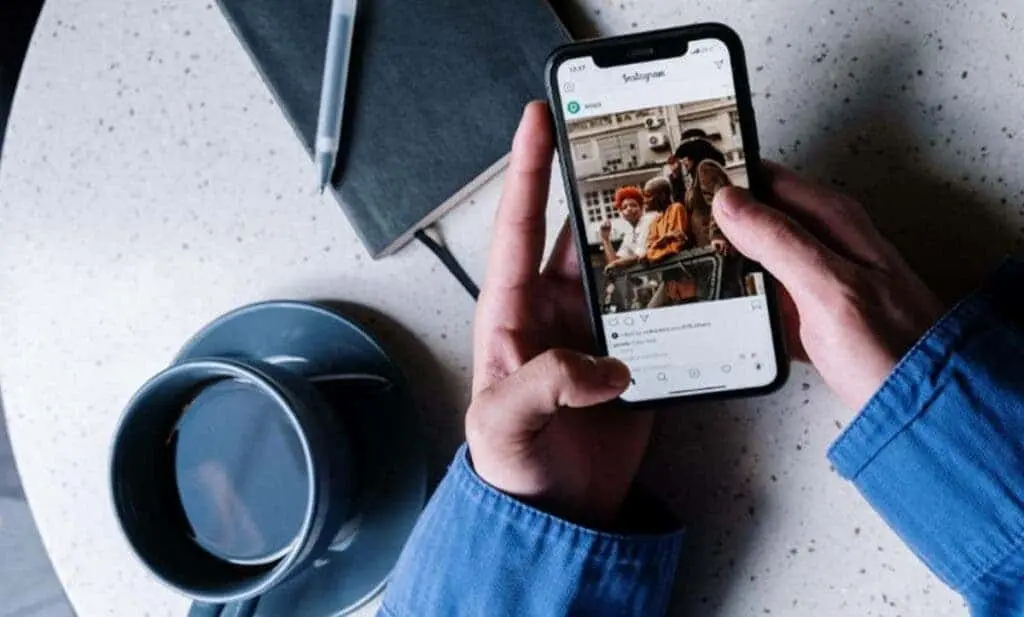
Instagram, as one of the most popular social media platforms today, constantly innovates and offers new features for its users. However, while they’ve made video and GIF posting possible, posting a Live Photo directly can be a bit tricky. If you’ve ever wondered “how to post a Live Photo on Instagram,” you’re not alone. This comprehensive guide will walk you through the steps and offer tips to make your Live Photo look its best on Instagram.
Table of Contents
How to Post a Live Photo on Instagram Story
Instagram Stories are a dynamic way to share your day’s highlights with your followers. When you add the magic of Live Photos into the mix, your story gets that extra touch of spontaneity and animation. If you’ve been wondering how to post a Live Photo on Instagram Story, here’s a detailed step-by-step guide:
- Open the Instagram App: Begin by launching the Instagram application on your device. Ensure you’ve granted necessary permissions for Instagram to access your camera roll.
- Navigate to the Story Creation Screen: Swipe right from the main feed or tap on your avatar in the top left corner. This action will lead you to the Story creation screen where you can capture new content or select from your camera roll.
- Choose the Live Photo: On the bottom-left of the screen, you’ll spot a gallery icon (usually a square or a picture-like icon) which represents your camera roll. Tap on it to view your media. From here, navigate and select the Live Photo you wish to upload to your Instagram Story.
- Turn the Live Photo into a Boomerang: This is where the magic happens. By default, Instagram doesn’t play the Live Photo’s animation. But there’s a workaround. After selecting the Live Photo, press and hold on the preview until you see the word “Boomerang” pop up. This action converts your Live Photo into a Boomerang, animating it for the story.
- Edit and Customize: Once you’ve transformed your Live Photo into a Boomerang, Instagram offers numerous tools to enhance your story. Add text overlays, stickers, GIFs, or even doodle on your photo. Explore the editing tools at the top of the screen to adjust, annotate, and accentuate your Live Photo.
- Add Music or Sound: If you wish to add some music to your Live Photo, tap on the music note icon and choose from Instagram’s vast library of songs. Search for a specific track or browse by mood, genre, or what’s popular.
- Post to Your Story: After adding your desired touches, it’s time to share. Tap on the “Your Story” button at the bottom, and voila! You’ve successfully learned how to post a Live Photo on Instagram Story.
- Bonus Tip: For those who love experimenting, try using third-party apps that convert Live Photos into GIFs or videos. This provides another fun and creative way to share Live Photos on Instagram.
By mastering how to post a Live Photo on Instagram Story, you can engage your audience with content that’s lively and brimming with candid moments. It’s these tiny details and innovative approaches to content sharing that can make your Instagram Stories stand out from the crowd. Whether it’s a fleeting laugh, a pet’s mischief, or just the wind in the trees, Live Photos encapsulate more than just an image—they capture a moment in its entirety.
How to View Your Live Photos as Animations and Edit Them
Live Photos is one of the unique features offered by Apple that brings your photos to life by capturing moments 1.5 seconds before and after the shutter button is pressed. This creates an animation-like effect, making your photos more dynamic and engaging. If you’re wondering how to view your Live Photos as animations and give them a bit of an edit for that perfect touch, this guide is for you. Let’s dive in!
- Viewing Live Photos as Animations:
- Open the Photos App: Start by launching the ‘Photos’ app on your iPhone or iPad.
- Navigate to the Live Photo: Browse through your albums or camera roll to locate the Live Photo you wish to view.
- Press and Hold: Simply tap and hold the Live Photo. The animation will play, letting you relive that moment.
- Editing Your Live Photos:
- Tap ‘Edit’: After selecting the Live Photo, tap on the ‘Edit’ button located at the top right corner of the screen.
- Adjust Light and Color: Swipe along the slider tools at the bottom of the screen to enhance the photo’s lighting, color balance, and other elements.
- Crop and Rotate: Tap the crop and rotate icon (usually represented by a square with arrows) to adjust the frame or orientation of your Live Photo.
- Select a New Key Photo: A great feature when considering how to view your Live Photos as animations is the ability to choose a new ‘key photo.’ Scrub through the animation using the slider at the bottom and settle on your preferred frame. Tap ‘Make Key Photo’ to set it.
- Changing the Animation Style:
- Access Effects: While in edit mode, swipe up on the Live Photo. You’ll be presented with various effects like ‘Loop,’ ‘Bounce,’ and ‘Long Exposure.’
- Loop: This will turn your Live Photo into a continuous looping video, great for moments like splashing water or a flickering candle.
- Bounce: It gives a boomerang effect to your Live Photo, playing the animation forward and then backward.
- Long Exposure: This blends the entire animation to create a unique effect, perfect for waterfalls, moving traffic, or star trails.
- Select the Desired Effect: Tap on the one you prefer, and it will automatically apply to your Live Photo.
- Reverting Changes:
- If you’re not satisfied with the edits or simply wish to go back to the original, tap on ‘Revert’ in the bottom right while in edit mode. This will restore the Live Photo to its original state.
Incorporating these tips on how to view your Live Photos as animations and edit them allows you to optimize the presentation and feel of your memories. Whether it’s choosing the perfect frame from a child’s laugh or turning a city night scene into a mesmerizing long exposure, the power is in your hands to craft and mold your moments into digital masterpieces. So, the next time you capture a Live Photo, remember these editing tricks to make it truly shine.
Why Live Photos Are Perfect for Instagram
In the bustling world of Instagram, where a plethora of images and videos are shared every second, standing out can be a challenge. Live Photos, an innovation from Apple, have become a game-changer for many content creators and everyday users alike. But why exactly are Live Photos so well-suited for a platform like Instagram? Let’s delve into the reasons why Live Photos are perfect for Instagram.
- Capturing Candid Moments:Unlike traditional photos that capture a single, frozen moment in time, Live Photos record 1.5 seconds before and after the shot. This short animation can encapsulate spontaneous laughter, a pet’s playful jump, or the gentle sway of leaves in the wind. These fleeting moments, often lost in standard photographs, add depth and context to the story you’re trying to convey.
- Increased Engagement:With Instagram’s algorithm favoring engaging content, a Live Photo-turned-Boomerang can pique the interest of viewers. The slight motion in the photo can catch a user’s eye as they scroll, making them more likely to engage with your content, be it through likes, comments, or shares.
- A Fresh Perspective:While many users on Instagram are accustomed to seeing Boomerangs, videos, and standard photos, a well-executed Live Photo offers a fresh and unique perspective. It bridges the gap between a static image and a video, providing a new way to share content.
- Simplicity and Authenticity:Live Photos are effortless. You don’t need to plan them like a video; they capture real and unscripted moments. This authenticity resonates with audiences who appreciate content that feels genuine and unfiltered.
- Versatility in Editing:As we discussed earlier, Live Photos can be edited to choose a key frame, or they can be transformed into different styles like Loop or Bounce. This versatility means you can tailor the Live Photo to fit the mood or message you’re aiming to portray on Instagram.
- Immersive Storytelling:When pondering why Live Photos are perfect for Instagram, consider the platform’s emphasis on storytelling, especially in features like Stories and IGTV. A Live Photo can add layers to your narrative, providing a richer, more immersive experience for your followers.
- Enhanced Creativity:Instagram is a haven for creativity, and Live Photos offer another tool in a content creator’s arsenal. Whether it’s creating mesmerizing loops for a brand campaign or simply sharing a bouncing memory from a trip, the possibilities are endless.
In conclusion, understanding and harnessing the potential of Live Photos can significantly enhance your Instagram game. They offer a blend of spontaneity, creativity, and authenticity, making them an ideal fit for a platform that thrives on connection and storytelling. So, the next time you’re looking for a way to elevate your Instagram content, consider the magic of Live Photos.
How to Convert Live Photo to Video
Live Photos, while captivating and unique, might not always be the most suitable format for every platform or purpose. There might be instances when you need to convert a Live Photo into a video, especially if you’re planning to share it outside of the Apple ecosystem. In this section, we’ll walk you through how to convert a Live Photo to video, ensuring that your animated moments can be viewed by a broader audience.
- Using the Photos App:
- Open the Photos App: Start by launching the ‘Photos’ app on your iPhone or iPad.
- Locate the Live Photo: Navigate to the album where your Live Photo is stored and select it.
- Swipe Up on the Live Photo: Doing this will reveal four effects: Live, Loop, Bounce, and Long Exposure.
- Select ‘Loop’ or ‘Bounce’: Both these options will create a video from your Live Photo. ‘Loop’ will repeat the animation in a continuous loop, while ‘Bounce’ will play the motion forward and then in reverse, much like a boomerang.
- Save the Video: After applying the effect, the Photos app will automatically save it as a video in your camera roll.
- Using Third-Party Apps:There are several apps available on the App Store that can convert Live Photos into videos. Apps like “Lively” and “Motion Stills” are popular choices.
- Download and Install: Choose a third-party app from the App Store and install it on your device.
- Open the App: Launch the app and grant necessary permissions.
- Import the Live Photo: Most apps will prompt you to select a Live Photo from your camera roll.
- Choose the Export Option as Video: After importing, choose to convert the Live Photo to a video. Some apps offer additional editing tools and customizations.
- Save or Share: Once converted, you can save the video to your camera roll or share it directly from the app.
- Via Shortcuts (for advanced users):The Shortcuts app on iOS allows users to automate tasks. There are several shortcuts created by the community that can convert a Live Photo to a video seamlessly.
- Install the Shortcuts App: If you haven’t already, download and install the Shortcuts app from the App Store.
- Search for a Suitable Shortcut: Browse through the gallery or search online for a shortcut that can convert Live Photos to videos.
- Run the Shortcut: After adding the shortcut, run it and follow the prompts to select a Live Photo and convert it into a video.
Converting Live Photos to videos opens up new possibilities for sharing and editing. While Live Photos are an excellent way to capture spontaneous moments, having the flexibility to turn them into videos ensures you can relive and share those moments across various platforms. Whether you’re posting on social media, editing in a video software, or sending it to a friend on a different device, knowing how to convert a Live Photo to video can be immensely beneficial.
How To Share A Live Photo As An Instagram Post
Instagram is a dominant platform for photo-sharing, and integrating Live Photos can elevate your content, making it stand out. However, Instagram doesn’t natively support Live Photos. Instead, they need to be converted into a format that Instagram can recognize, such as a video or a Boomerang. Here’s a step-by-step guide on how to share a Live Photo as an Instagram post:
- Convert Live Photo to Boomerang in the Instagram App:
- Open Instagram and Tap on the ‘+’ (Plus) Icon: This is typically located at the bottom center of the screen and is used to create a new post.
- Swipe to the ‘Story’ Mode: Even if you want to post to your feed, start with the Story mode.
- Select the Live Photo: Navigate to your camera roll within Instagram and choose the Live Photo you wish to share.
- Press and Hold the Live Photo: Doing this will convert the Live Photo into a Boomerang. Release once the conversion is complete.
- Tap on the ‘Save’ Icon: This will save the Boomerang to your camera roll.
- Return to the Instagram Home Screen: Now, tap on the ‘+’ icon again and choose ‘Feed’.
- Select the Saved Boomerang: Navigate to your camera roll within Instagram and select the Boomerang you just saved.
- Proceed with the Post: Customize the post with captions, tags, and any filters if desired. Then, share it on your feed.
- Using Third-Party Apps to Convert Live Photos to Video:If you’ve already converted your Live Photo to a video using third-party apps (as discussed in the previous section), you can directly post this video to Instagram.
- Open Instagram and Tap on the ‘+’ Icon: This is used to create a new post.
- Select the Video: Navigate to your camera roll and choose the video you created from the Live Photo.
- Edit and Crop: Instagram allows you to trim the video if it’s too long and choose the section you want to display.
- Proceed with the Post: Add captions, tags, filters, and share the video on your feed.
- Utilizing Instagram’s In-App Tools:Once your Live Photo is converted into a Boomerang or video, you can take advantage of Instagram’s range of tools for editing.
- Filters and Adjustments: Swipe left or right to explore different filters. Tap on the ‘Edit’ button for finer adjustments like brightness, contrast, and structure.
- Cover Image: For videos, you can select a cover image that will appear on your feed. This is the static image viewers see before playing the video.
- Interactive Features: If sharing as a Story, utilize features like stickers, GIFs, and polls to make your post more interactive.
Sharing Live Photos on Instagram is a unique way to inject dynamism and life into your posts. Though the platform doesn’t natively support Live Photos, the process to convert and share them is straightforward. By mastering this technique, you can ensure your Instagram feed remains fresh, engaging, and ever-evolving.
